

I mean, seriously.
Is there anything more precious?
And, the great thing is: with this recipe, you can make 1 ornament for yourself and at least 2 to give as gifts! (It’s one of my secrets for simplifying my life this holiday season!)
Hello… perfect grandparent gifts!
What you need:
1 cup flour
1/2 cup salt
1/2 cup water
2 paint colors (I used regular, $1 craft paint from Walmart)
1 small paintbrush (a Q-tip would work too)
12 inches grosgrain ribbon (or twine or yarn)
All you do is combine the ingredients, and then knead the dough until it’s nice and smooth, which takes about 7 minutes. After that, roll out the dough, cut your desired shapes and let the little ones smudge their handprints into them. Don’t forget to make a hole in the top so you can hang them as ornaments on your tree! I used the edge of a paperclip for that. I also used the paperclip to engrave initials onto the ornament, along with the year.
When your ornaments look good, put them on a cookie sheet and let them bake at 325 degrees until they’re hard, which takes about 1 to 2 hours depending on the size of the ornaments. I ended up taking some of my smaller ornaments out before the larger ones.
When my ornament cooled, I painted it a light gray, but the handprint didn’t stand out enough, so I ended up filling it in with black paint. To finish it off, I put a black grosgrain ribbon through the hole at the tip, and tied a bow on the front.
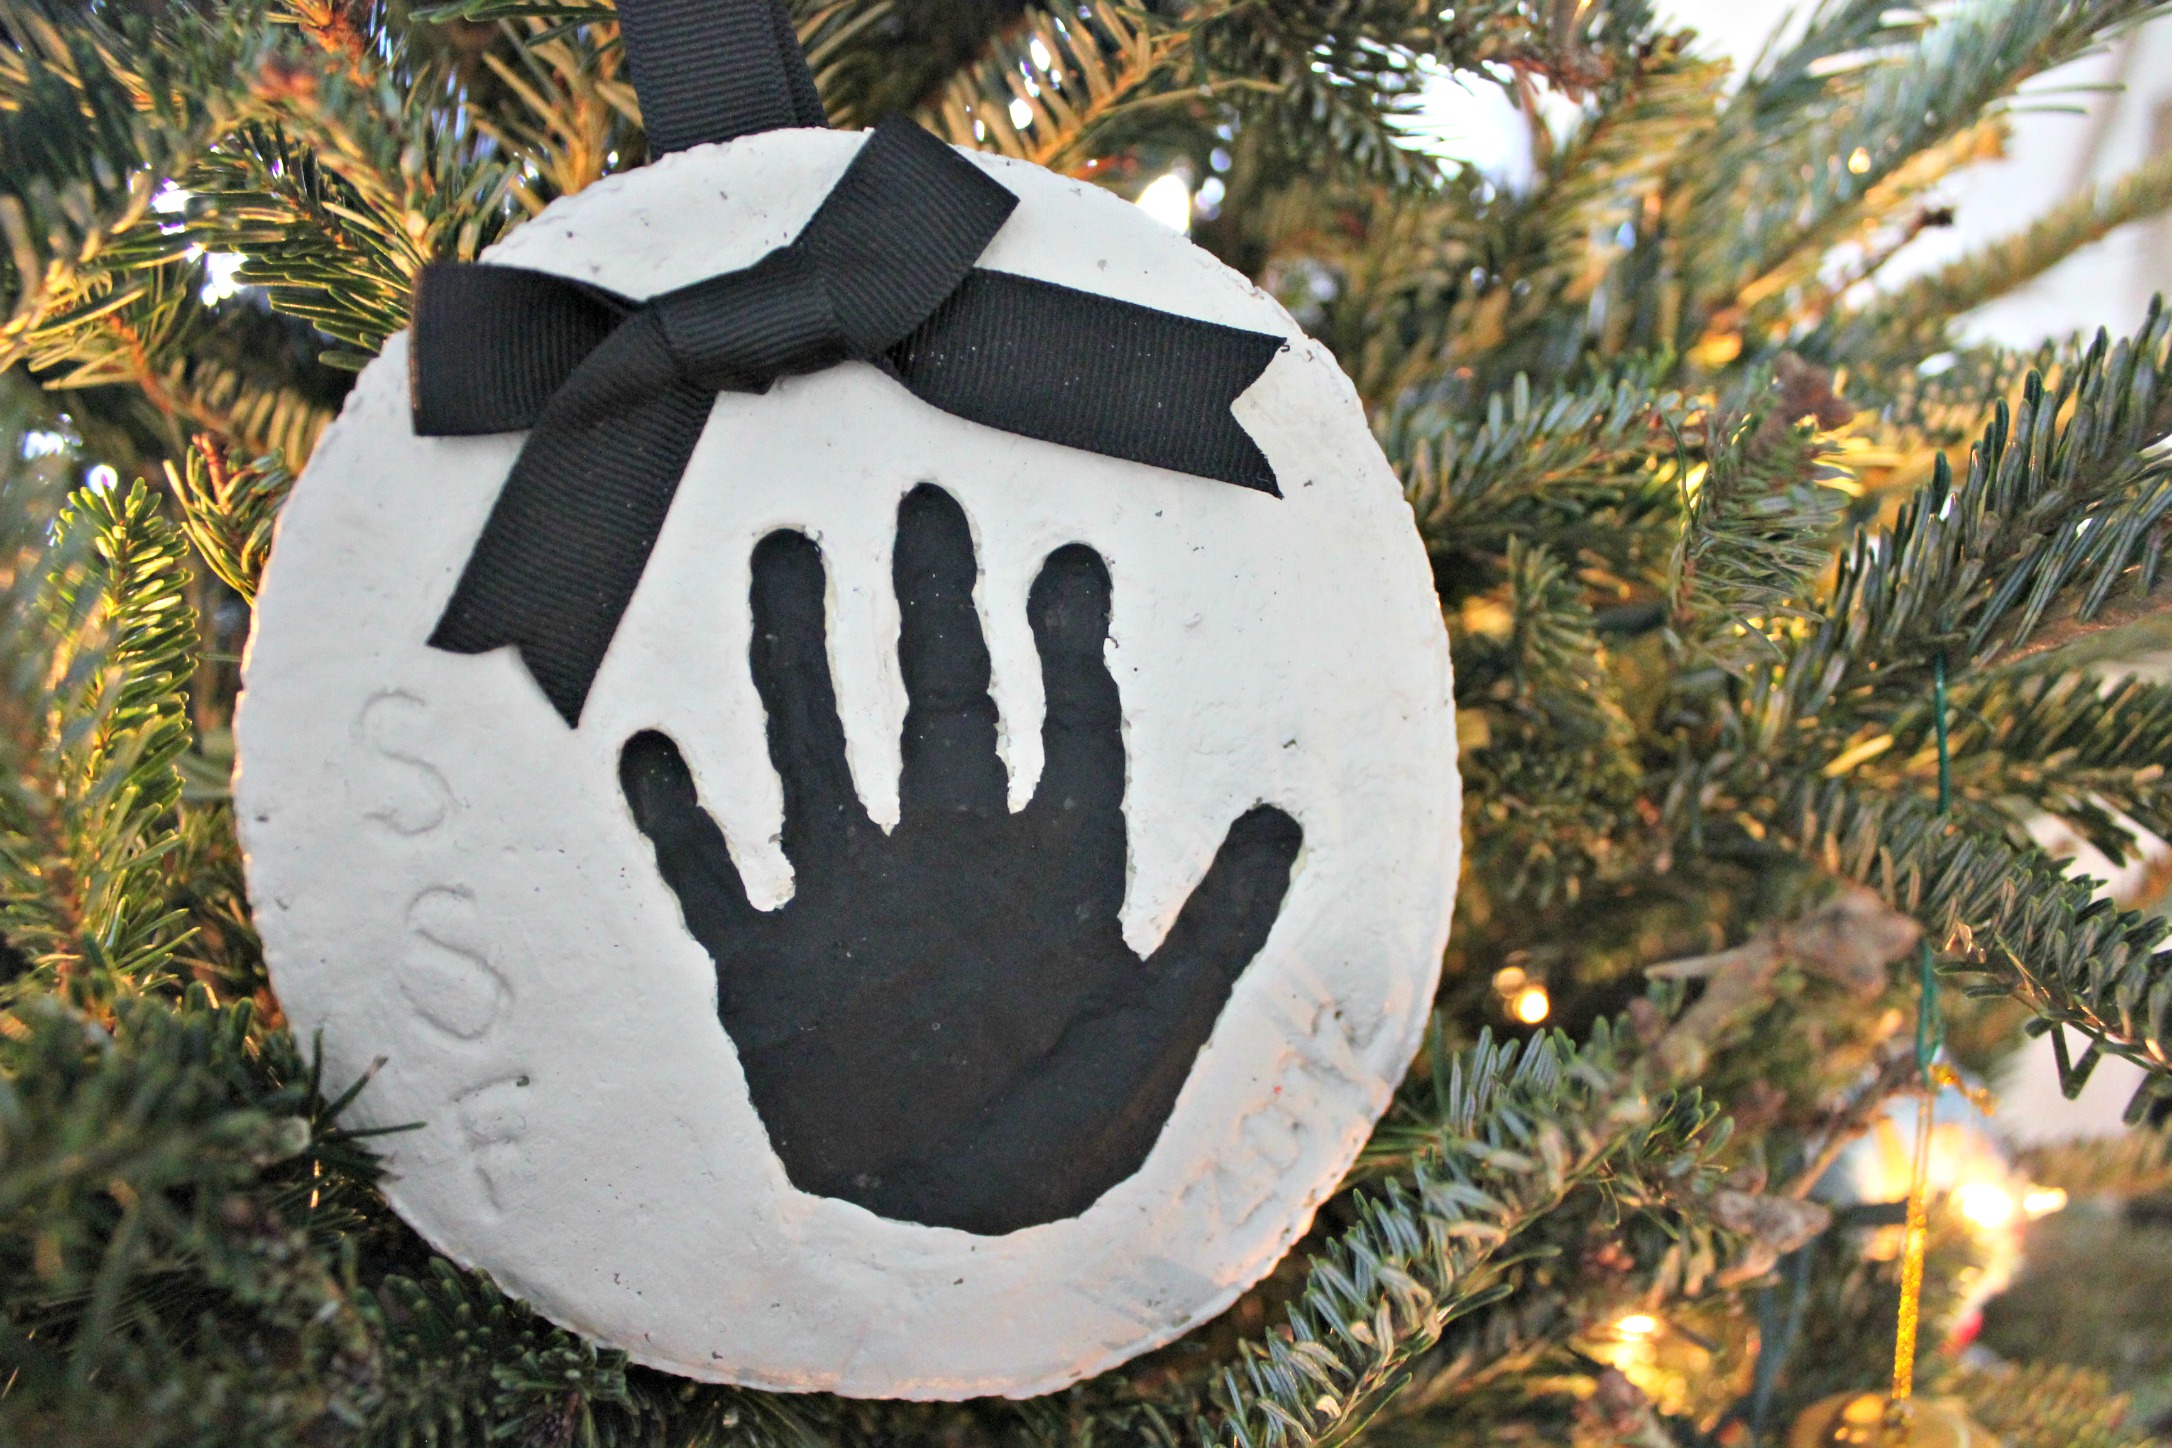
How cute is that?!? I love how clean and classic it looks. And, depending on the 2 paint colors you use, you can make it totally personal to you!
Since I had extra dough, I was able to make multiple ornaments for each kid.

And, keep in mind: since these are homemade, they’re not going to look perfect. After baking, one of mine ended up with a huge bubble in the middle, but I didn’t discard it. I kept it, and I love it! Hey, it adds a little character, right?

Needless to say, even after these are baked, they’re still very fragile. When I store them for the year, I wrap them in tissue paper and put them in a hard box that sits within our usual Christmas ornaments box. This way they stay nice and safe!